Honeycomb First-Day Survival Guide for Sota 7
A practical first-day route for Honeycomb: The World Beyond, covering the landing pod, food, tools, resources, immunity, and a safe starter base.
FAQ
Can I drink directly from a river on Sota 7?
What should I do when the immunity warning appears?
What should I do immediately after landing?
Use the landing pod as your first safe work point. Check the locker, take the analyzer and basic supplies, scan nearby plants and animals, and collect loose food before walking far from the pod. The first objective is a stable supply loop, not a long expedition.
The pod includes storage, a basic crafting station, solar panels, and a stasis capsule that functions as a bed. Keep spare food, water, and medical items there until the first base is operational. For the opening objectives, see the Sota 7 starting area and first base guide.
How do I get food and water safely?
Collect loose Sunbeam Lumis fruit and Sweet Tarax material near the starting area, then consume the appropriate food when the tutorial asks. The footage shows that fruit can restore some thirst and provide limited nourishment, but exact values and spoilage timing should be checked in the current build.
Do not treat the river as a ready-to-drink water source. Build a water pump near natural water, connect it to a nearby wind turbine, and add a water dispenser after crafting its filter. Preserving food in a multi-cooker is useful because raw ingredients can decay while you explore; see the early flora and food database.
Which tools should I craft first?
The opening tool set is a pruner, chisel, and trowel. The tutorial demonstrates crafting them at the landing pod after collecting titanium, then equipping them through the inventory. Tools have durability, so avoid spending them on objects that can be collected by hand.
Use the analyzer to reveal unfamiliar objects, discover blueprints, and upload research through the IVS network. The resource route through the nearby cave system commonly exposes titanium, copper, silver, graphite, magnetite, and bauxite in the supplied footage; exact node locations may change between builds. The early resource route lists only observations supported by the videos.
How do I survive the first immunity check?
When the initial stasis antibiotics wear off, the environment begins reducing immunity outside sealed structures. Craft an IM pump and keep researching local flora for IMX-rich food. If immunity falls too far, return indoors and use available fruit or other confirmed sources of protection.
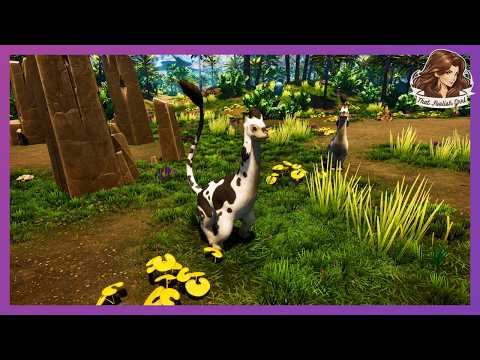
Avoid hostile or territorial wildlife while gathering. Bandages can treat injuries shown in the footage, but infection treatment and status-effect recipes still need verification from an in-game test or official documentation. For wildlife behavior, see building trust with animals.
Related videos


Related Articles
building
Honeycomb First Base Water and Power Setup
Build a functional first base in Honeycomb with a water pump, wind turbine, multi-room, grow bed, and early crafting stations.
guides
Honeycomb Survival and Building Priority Tier List
A version-stamped priority list for Honeycomb survival, resources, food, tools, base facilities, and exploration preparation on Sota 7.
items
Honeycomb Early Survival Items and Equipment
A practical list of Honeycomb early-game survival items, including the analyzer, food, water, bandages, light sticks, tools, and immunity equipment.
Was this helpful?
Thanks for the feedback!